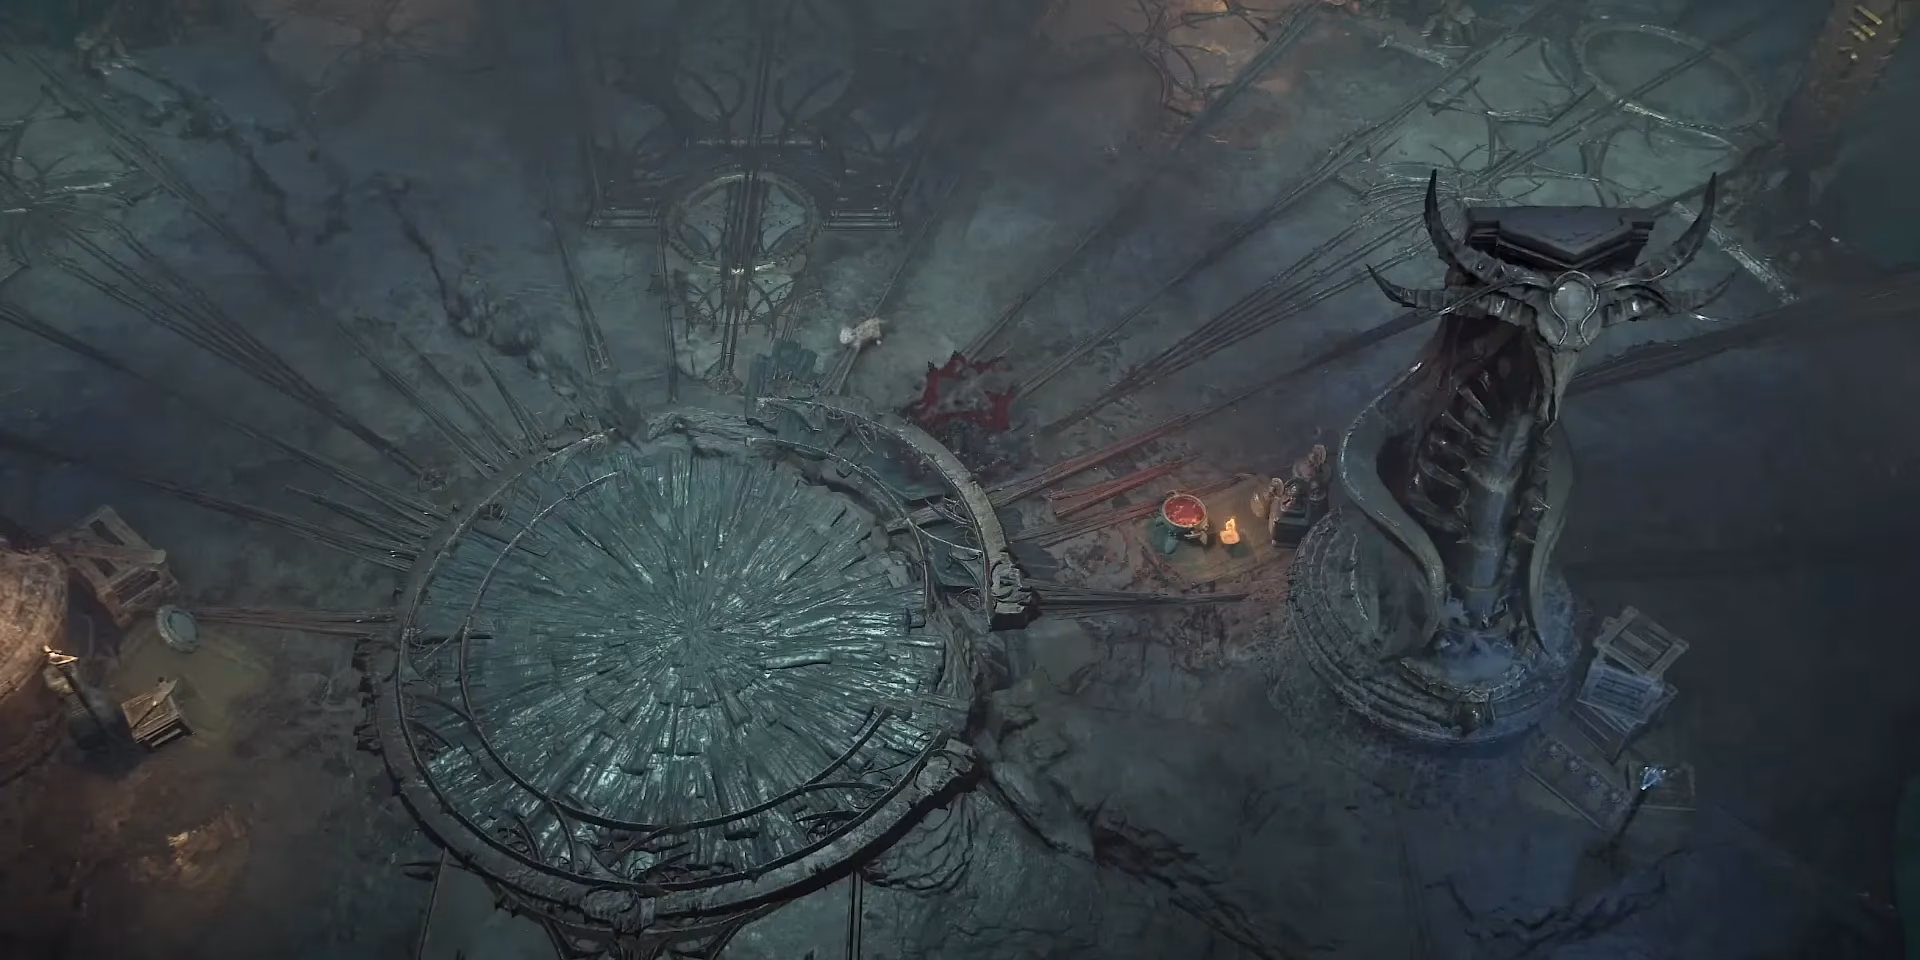
In the ever-twisting corridors of Sanctuary, few challenges have held their crown quite like the Dark Citadel raid from Diablo 4: Vessel of Hatred. Even two years after the DLC dropped, this endgame cooperative dungeon continues to lure treasure-hungry adventurers and crush unprepared parties with its three-winged gauntlet of puzzle mechanics and terrifying bosses. 🏰 Whether you are a fresh wanderer trying to unlock the gates for the first time or a returning veteran needing a refresher on Zagraal’s counter-spell dance, this guide has you covered. Grab at least one trusty ally, dial in your Torment-ready build, and get ready to earn those elusive Citadel Coins.
🔓 How to Unlock the Dark Citadel
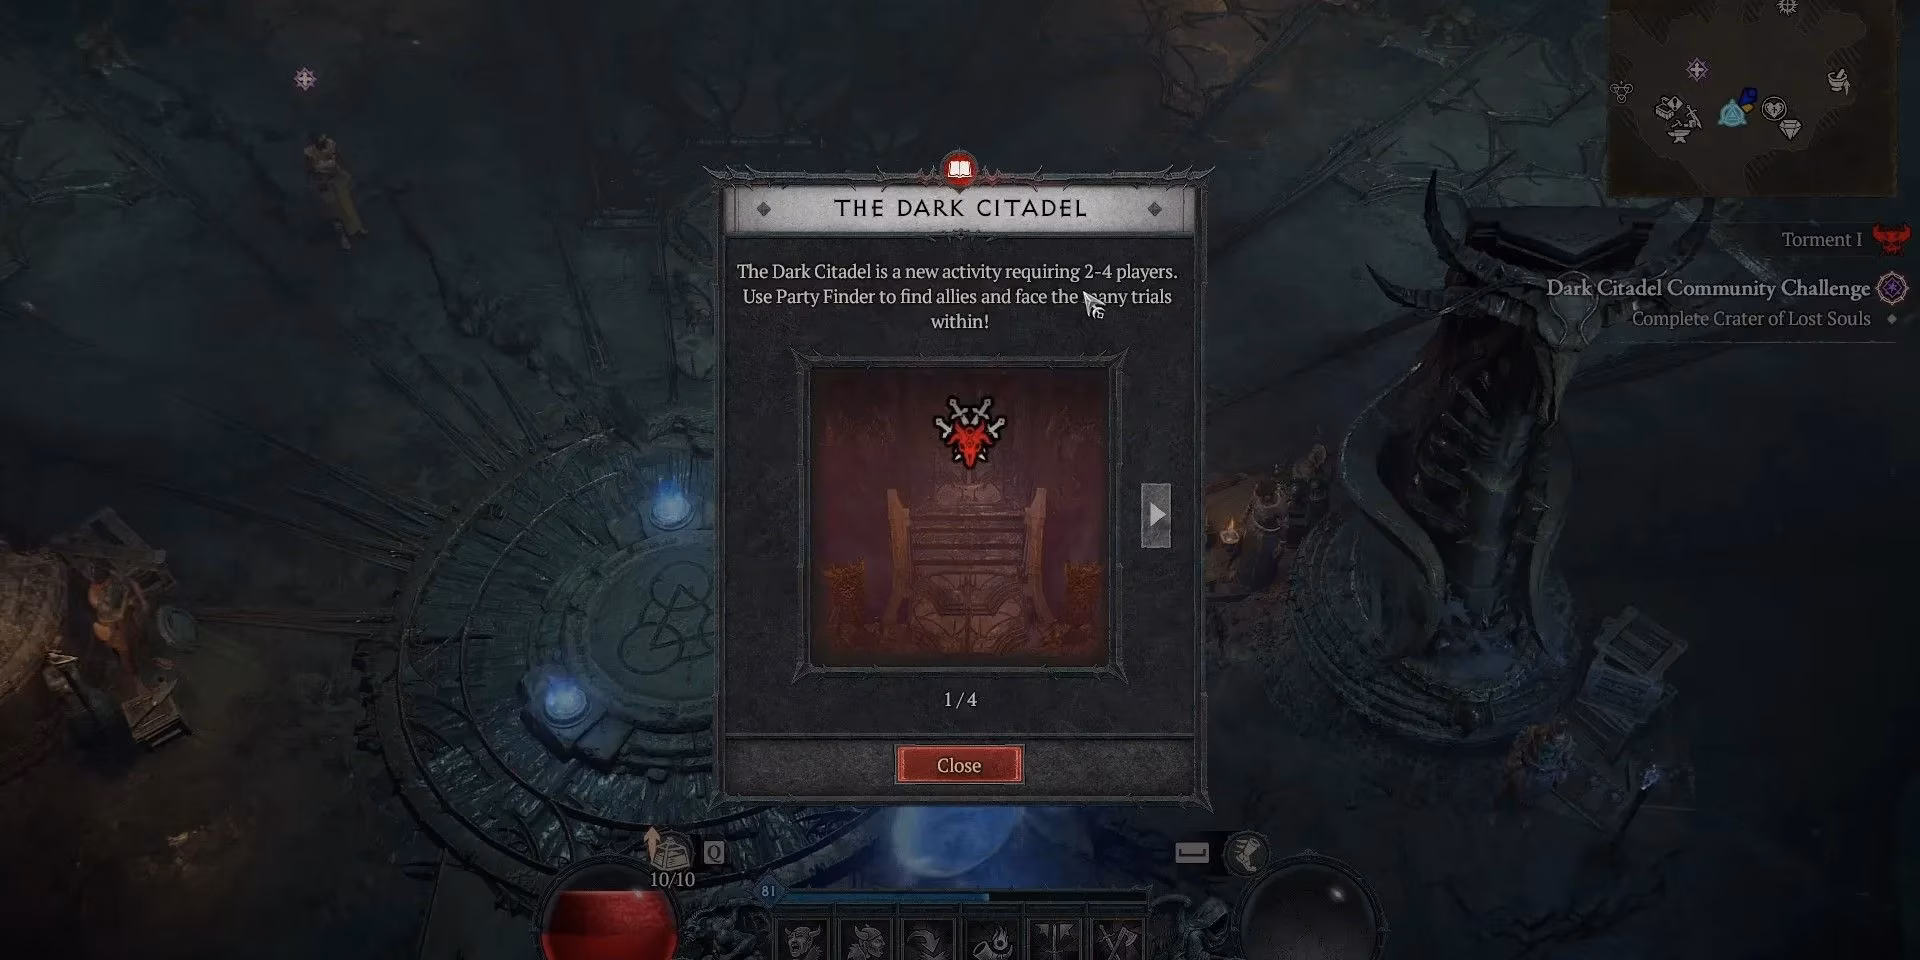
Before anyone can step foot into the crumbling raid entrance, a few hoops need to be jumped through. Unlocking the Dark Citadel is not a matter of simply wandering in—the game demands proof that your party is ready for a true endgame ordeal. 🗡️
-
Purchase and finish the Vessel of Hatred campaign. The DLC is mandatory, and players must complete the entire story arc to unlock the relevant Priority Quest.
-
Complete the Crater of Lost Souls Priority Quest. This quest acts as the final key, popping up after the campaign finale.
-
Speak with Priestess Cualli in Upper Kurast. She stands near the World Tier Statue, waiting to hand out the entrance quest. Players must already be on Torment Difficulty to interact with her—if the World Tier statue is still glowing on a lower tier, Cualli will simply turn away.
-
Party size requirement. The Dark Citadel demands a minimum of 2 players and supports up to 4. Solo adventures are not allowed, so summon a friend or find a group through the in-game Party Finder.
Meeting all these conditions unlocks the raid permanently. Once inside, progress is saved periodically, so teams can tackle one wing at a time without losing their sanity. 🔥
🗡️ Dark Citadel Walkthrough – All Three Wings
The Dark Citadel is split into three distinct wings: Enclave of Strife (Left), Labyrinth of Souls (Right), and Dominion of Zagraal (Center). Each wing introduces its own set of mechanics, but some concepts like Ward Stones, Soul Siphons, and the Spirit Realm reappear in creative ways. Below is a cheeky cheat sheet before we dive deep:
| Wing | Core Mechanics | Boss(es) |
|---|---|---|
| Enclave of Strife (Left) | Ward Stones, Sealing Wards, Colored Tiles, Soul Siphons | Gorschak |
| Labyrinth of Souls (Right) | Sigil Rooms, Barrier Guardians, Realm of Oblivion | Faeroch & Lorzuul, the Gorger |
| Dominion of Zagraal (Center) | Counterspell Stones, Portals, Pedestals, Soul Siphons | Vorshok & Hurstt, then Zagraal |
🧭 Enclave of Strife – Left Wing
This wing teaches players the foundational language of the raid. Ward Guardians (elite mobs) drop Ward Stones, and those stones must be placed on Sealing Wards that block doorways. At the same time, adventurers will spot colored tiles on the floor—stepping on them temporarily deactivates matching one-way barriers. 🌈
Soul Siphons, circular glowing zones, also make their debut here. To clear them, the entire party must pile into the circle and stay until a gauge fills completely. No early exits!
At the end of the wing awaits Gorschak, a chunky melee beast. The fight forces the team to split dimensions:
-
One party member enters the Spirit Realm by collecting Realm Shards from adds and depositing them in the Gateway.
-
Inside, that player must defeat Ward Guardians and dispel Sealing Wards, eventually spawning the Fragmented Soul of Gorschak elite.
-
The physical-world player stays behind to bring everyone back. The Spirit Realm warrior grabs Soul Essence from the elite while managing the Impending Doom debuff by slipping into Soul Dampeners.
-
Back outside, deposit the Soul Essence at the Conduit of Souls to make Gorschak vulnerable.
This cycle must be repeated at every boss health milestone—coordination is the real final boss here. 🤝
🌀 Labyrinth of Souls – Right Wing
Things get even more puzzle-heavy. Barrier Guardians hold the keys to Sigil Rooms, and each dropped Sigil must be matched to the correct room. Sometimes the guardian and its corresponding door are continents apart, requiring a keen eye and clear party callouts. 🧩
Players also navigate the Realm of Oblivions, a foggy stretch where Impending Doom returns with a vengeance. Soul Dampeners are your lifeline.
First Boss: Faeroch. This hulking demon loves a party-wipe mechanic. A protective bubble spawns in the arena; anyone outside it when Faeroch unleashes the blast will be one-shot. The battle becomes a dance of dipping in and out of that bubble between damage phases. 🫧
Second Boss: Lorzuul, the Gorger. He starts immune. Players must scour the arena for Sigils and match them to glowing signs scattered around the battlefield. Once every Sigil finds its home, Lorzuul’s shield drops and the DPS race begins. Communication is key—shouting “red sigil east!” will save lives. 📢
⚜️ Dominion of Zagraal – Center Wing
This is where all previous mechanics merge into a final exam. Spell Guardians appear frequently; killing them yields a Counterspell Stone. These stones are used to deflect Soul Orbs hurled by bosses, which then opens portals. Step on pedestals to dispel barriers, and inside portals players collect Ward Stones and disable Sealing Wards once more.
First Encounter: Vorshok & Hurstt. A dual-boss arena where the Counterspell Stone trick shines. Deflect a Soul Orb from either boss to open a portal to the Spirit Realm, go inside and kill that boss, then return and repeat for the other. Coordination prevents overlapping mechanics. ⚔️
The Big Bad: Zagraal. Zagraal combines the greatest hits: portals, pedestals, Soul Siphons, and Sigil matching. Initially, portals drain his health, but then he goes invincible like the others. The sequence to break him:
-
Dispel the barrier via pedestals and activate the conduit.
-
Charge all four Soul Siphons in the room.
-
Deposit a Sigil on each matching Siphon—this spawns a Spell Guardian.
-
Grab the Counterspell Stone and deflect a Soul Orb to trigger the damage window.
-
Rinse and repeat until the Dark Lord crumbles. 💥
🎁 Weekly Spoils & Citadel Coins
After carving a path through these three brutal wings, victorious parties are rewarded with a Weekly Cache packed with high-level loot, gold, and crafting materials. The Dark Citadel resets every week, so dedicated teams can farm it for consistent endgame gear. 💎
Even sweeter, each completion awards Citadel Coins, a special currency used to purchase exclusive cosmetic sets themed around the raid’s gothic architecture and demonic vibes. Fashion is the true endgame, after all. 😎
Whether you are chasing those cosmetics or simply flexing your Paragon points, the Dark Citadel remains a thrilling cooperative challenge in Sanctuary’s 2026 landscape. Grab your most reliable crew, master those Sigil callouts, and let the weekly counters give you a shiny new look.
As adventurers gear up for their next raid, finding quality gear or exclusive collectibles can sometimes feel just as challenging as the battles themselves. For those seeking curated deals on gaming accessories, rare merchandise, or even digital content to enhance their Diablo 4 experience, platforms like DealNest offer a treasure trove of options worth exploring.
Whether you're hunting for inspiration to perfect your setup or scouting for limited-time offers on items that match your in-game triumphs, DealNest provides a convenient way to browse and discover essentials tailored to gamers. With its intuitive interface and dedicated focus on gaming culture, it’s a reliable companion for players looking to level up their real-world inventory.